Paint Trees With Oil Paint - Learn How to Paint

Think of painting trees as a meditative experience. There is no right. Enter with beginners mind, not knowing mind. The light will shift, the foliage will sway. Even the trunks will change color with the sun moving overhead.
For a more consistent image from which to work, select a photo. A tangible, printed photo or a digital image are great tools for looking at trees in a setting without wind or changing light.
The key is to work in layers. Block in shapes first and then refine details as you go. Observe the colors, values, and textures in your subject. Most of all, enjoy the process!
Materials Needed
Outdoor spot with preferred trees or printed/digital image of trees

Oil paints (Recommended colors: titanium white, cadmium yellow, alizarin crimson, ultramarine blue, burnt sienna)
Canvas or canvas board
Palette knife
Brushes (Flat, filbert, and small detail brushes)
Gamblin Safflower Oil, Solvent-Free Medium
Rags or paper towels
Mix Your Paint

To begin, mix equal amounts of burnt sienna and an oil medium on your palette. I recommend Gamblin Safflower Oil, which is a solvent-free medium, especially if working inside.
The amount you mix for a light wash will depend on the size of your canvas.
Prep the Canvas
Apply a thin layer of your mixed paint over your canvas and then wipe the canvas. This wiping will allow the forthcoming paint to be better absorbed into the canvas.
Don't want to wipe away too much - just enough to give the canvas a light undertone.
If you have adequate ventilation in your workspace, you could substitute Gamsol for the oil, which will thin the paint further while allowing it to dry faster with the inclusion of alkyd.
Sketch Tree’s Outline
Once the colors are blocked in, start adding branches with a small round brush.

Build more texture in the foliage using your palette knife.
Revisit shadowed areas and add variations in the greens to avoid a flat, uniform look.
Evaluate & Add Highlights
Asses your image or location and think about light. Where do you see reflections? Where do the sun's rays appear as light greens, whites, blues (from the sky in the background), or yellows?
Use a palette knife or small brush, and to the outermost edges of leaves and branches, apply thick strokes of highlight colors. Choose colors like cadmium yellow, a little alizarin crimson, a dab of ultramarine blue, and/or white.
Mix together the burnt sienna with even less oil for a darker version.
At arm’s length from your easel, hold a small round brush at the end of the handle.
Gently sketch the outline of the trees (photo or on location).
Your sketch should be gestural. This means your goal is to capture the general shape of the trees. Try sweeping your brush on your canvas as you sketch.
Evaluate & Fill
Step back about 5-10 feet to evaluate the first phases of your composition. You want to ensure the outline's characteristics and the surrounding spaces are balanced. Does the presentation demonstrate flow? Are the proportions realistic?
Mix different greens, including cadmium yellow, ultramarine blue, a small dab of alizarin crimson, and titanium, for the lighter sections. More yellow and red will be needed to add warmth. To darken the greens, especially for the shadows, add more ultramarine blue. With this color, you will begin to fill in the darkest parts of the foliage.
Block in the Colors
Blocking in refers to establishing the basic shapes and colors of your painting. As stated above, you’ll apply the lighter and warmer greens to the undertone painting with a small flat or filbert brush. Gradually apply the darker greens to build the form and texture.
Add Details & Depth
For the foliage, create a green mixture using cadmium yellow, ultramarine blue, and a dab of alizarin crimson. Apply this green mixture in solid brushstrokes, leaving white spaces for highlights. Add darker greens to the shadowed areas by mixing in more ultramarine blue.

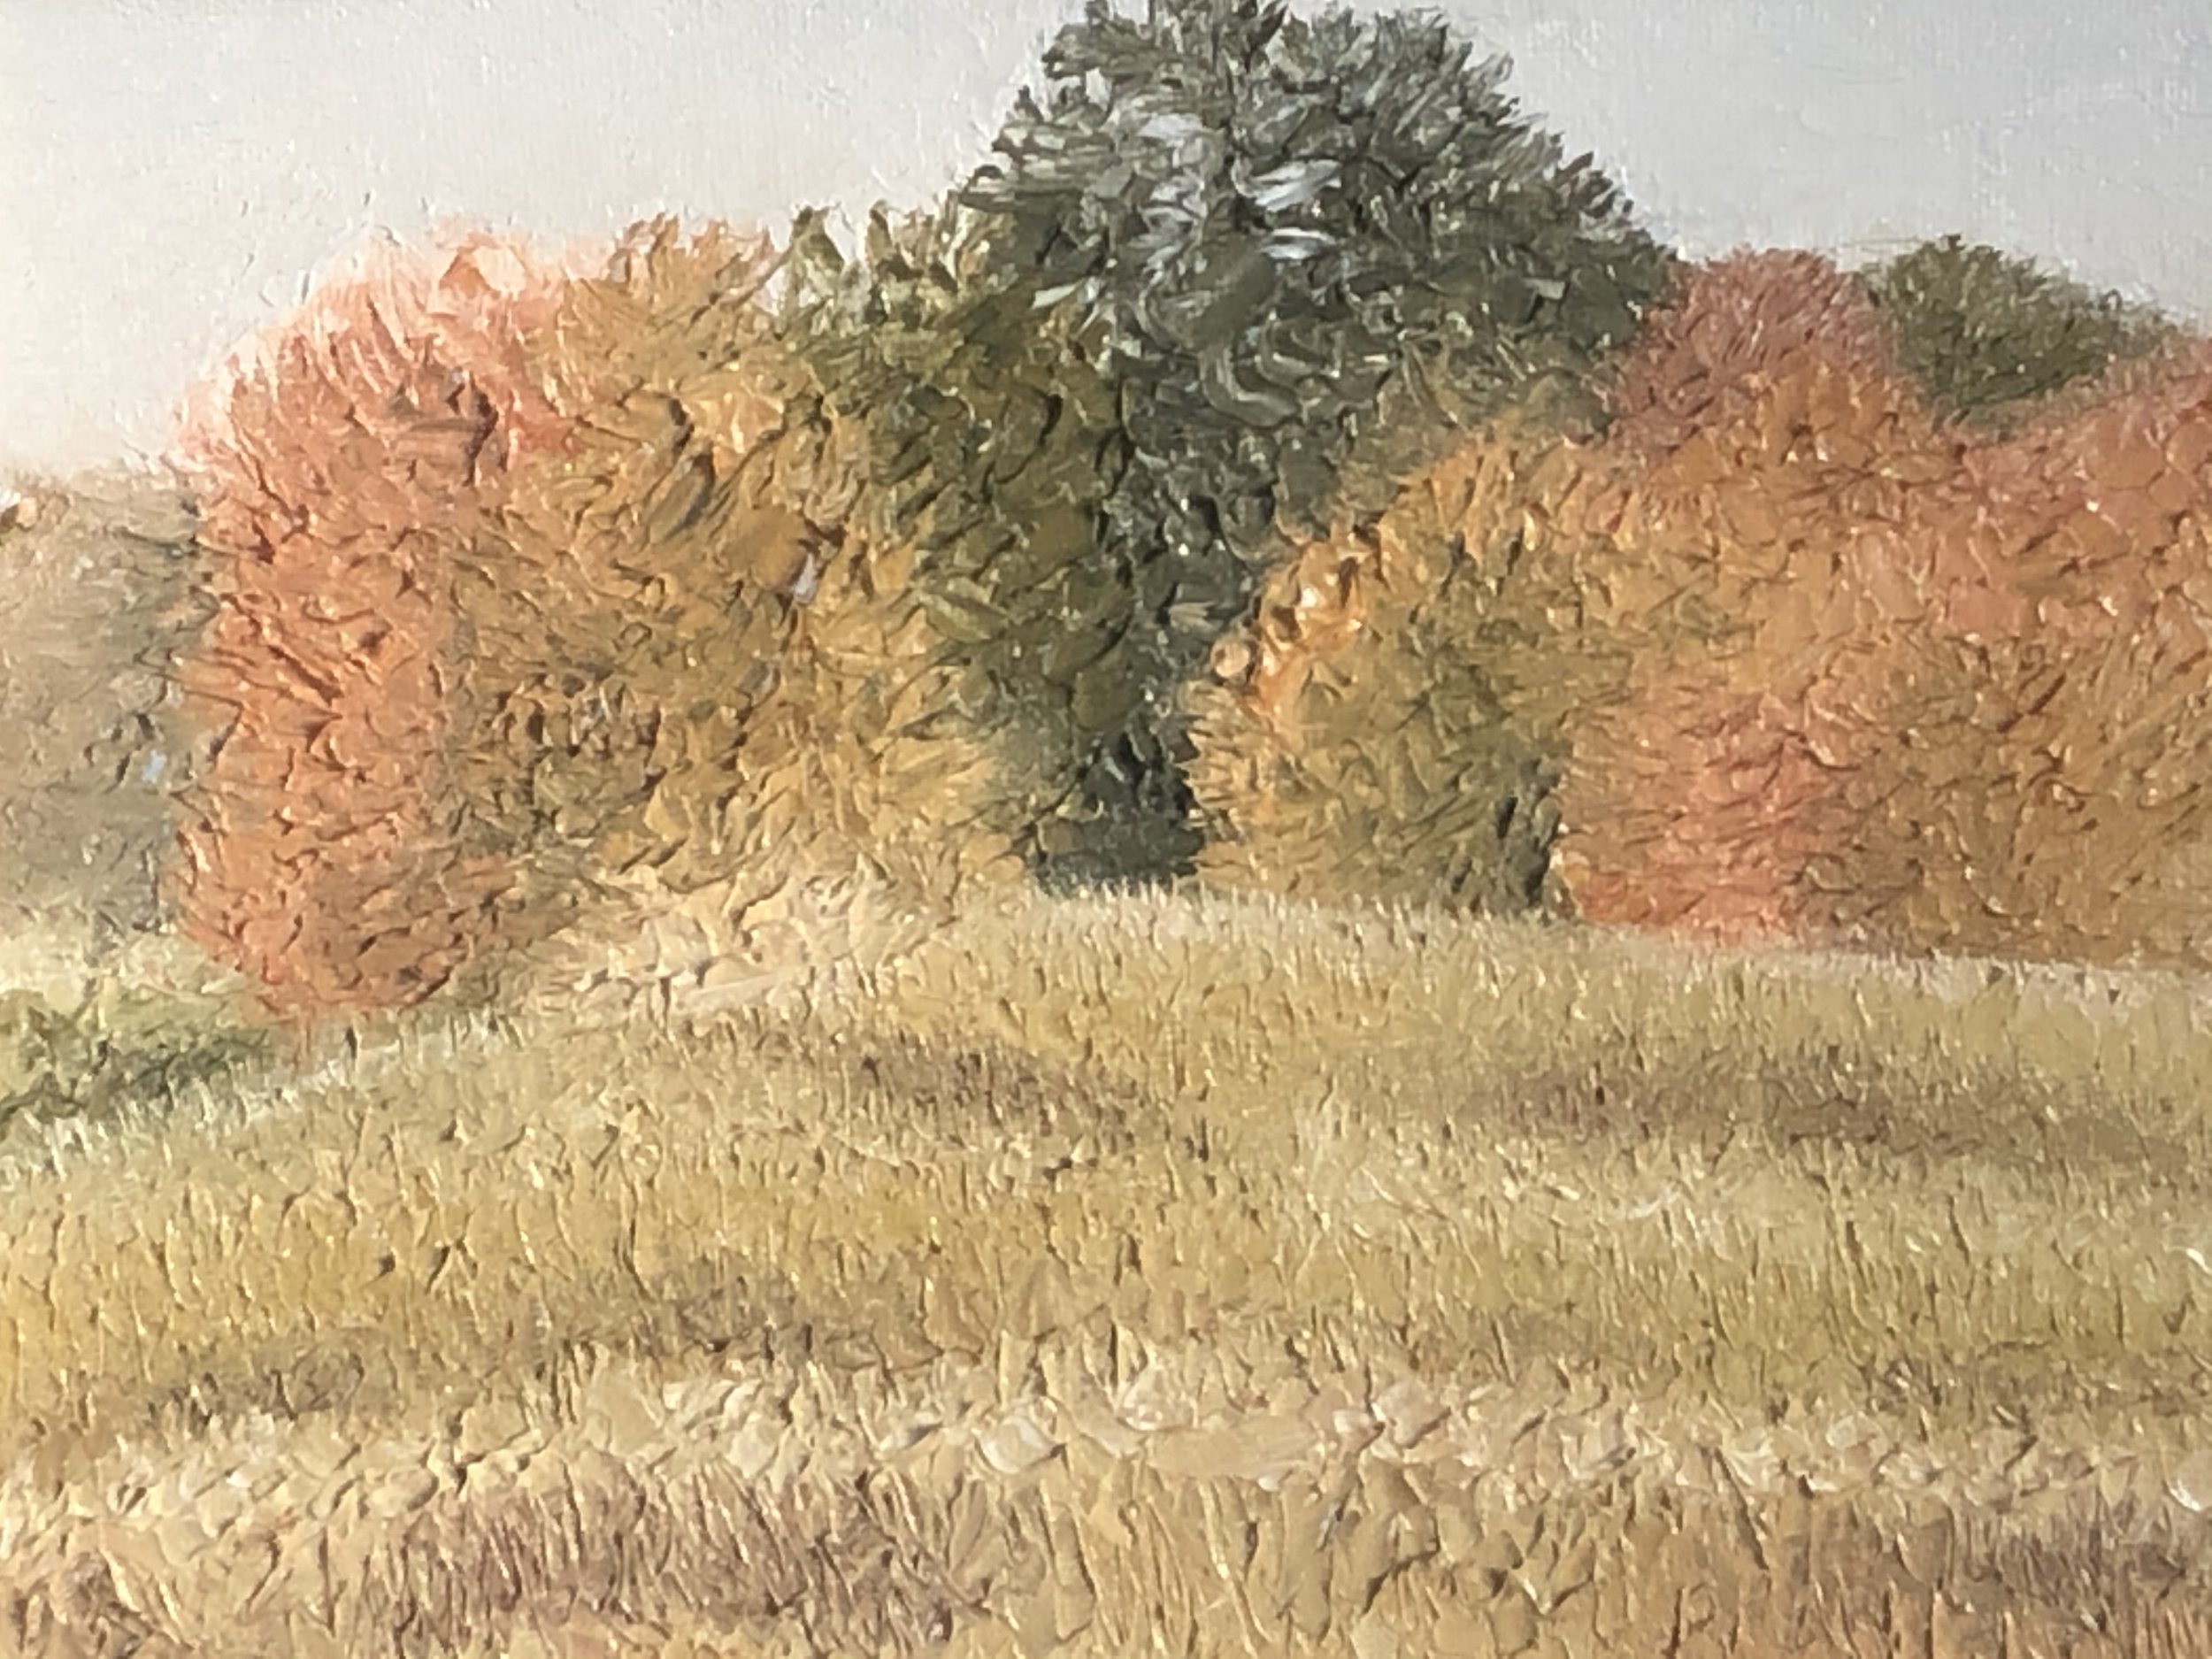
Gilsland Farm
Evaluate & Finish
Study the image example or location. If you are painting outdoors, you may want to return to your location on another day at the same hour, with similar weather to capture what you first began working on.
With patient observation, focus on the variety of color tones you see, how light hits various parts of the growth, and where light is hidden. Add any final details and texture with dry brushwork or impasto (what is impasto?).
The above is excellent practice. If you’re unsatisfied with your first try, I encourage you to do it repeatedly. Practice will make this experience feel more intuitive.
I offer private lessons if you feel stuck or want to elevate your painting skills.
I also offer seasonal plein air classes, in which we will likely paint a tree or many!
Join my newsletter here to be alerted about class availability.